· Sarah · Education · 7 min read
How to Make Thin Brows Look Fuller (Without Microblading)
From pencils to powders to gels - here's exactly how to create the illusion of fuller brows with makeup. Plus, the real time investment you're making every single day.
The Truth About Thin Brows
If you’ve been dealing with thin, sparse eyebrows, you’ve probably spent countless hours watching YouTube tutorials, trying different products, and standing in front of the mirror asking yourself: “Why does this look perfect on her but patchy on me?”
Here’s the thing nobody tells you: it’s not your fault.
Creating naturally full-looking brows with makeup is actually a skill that takes practice, patience, and the right products. But the good news? It’s totally doable once you know the techniques.
Below, I’m going to teach you the exact step-by-step process I share with clients who aren’t ready for microblading yet - or who just want to enhance what they already have.
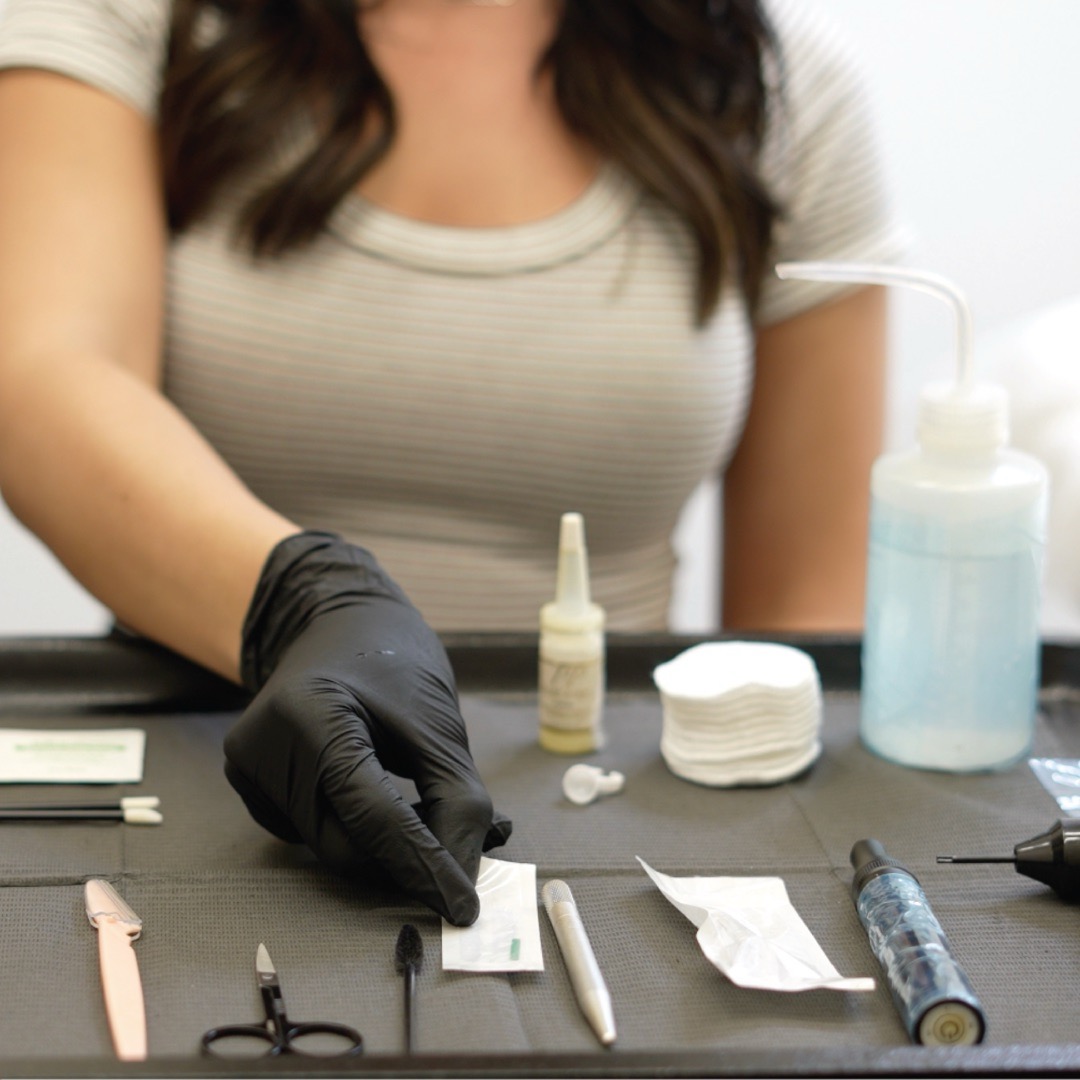
The Essential Products You’ll Need
Before we dive into technique, let’s talk products. You’ll need:
1. A Quality Brow Pencil
Look for one with a fine tip (under 2mm) that matches your natural hair color. The best ones are:
- Slightly waxy so they grip the skin
- Buildable without looking harsh
- Available in at least 2 shades (so you can mix for depth)
Investment: $15-30 per pencil. Replace every 3-4 months.
2. Brow Powder or Pomade
This fills in the gaps between your strokes and creates dimension.
- Powder: More natural, easier to blend
- Pomade: More dramatic, longer-lasting
Investment: $20-35. Lasts 6-8 months with daily use.
3. Angled Brow Brush
Get a synthetic brush with a sharp angle - it makes all the difference.
Investment: $12-25. Replace yearly.
4. Brow Gel
Clear or tinted, this keeps everything in place all day.
Investment: $15-28. Lasts 4-6 months.
5. Concealer
For clean edges and that “professional” finish.
Investment: $10-30. Replace every 6 months.
Total startup cost: $72-168 Annual maintenance cost: $150-250 (replacements)
The Step-by-Step Technique
Now that you have your tools, here’s how to use them:
Step 1: Start With Clean, Dry Brows
Brush your brows upward with a spoolie to see what you’re working with. This reveals the natural shape and where your gaps are.
Time: 30 seconds
Step 2: Map Your Shape
Using your pencil lightly, mark three points:
- Where your brow should start (align with inner corner of eye)
- Where the arch should peak (align with outer edge of iris)
- Where it should end (diagonal from nose to outer eye corner)
This takes practice. When I do this professionally, it takes 2 minutes. For beginners? Allow 5 minutes until you get the hang of it.
Time: 2-5 minutes
Step 3: Create Hair-Like Strokes
Here’s where most people go wrong - they draw a solid line instead of individual hairs.
The technique:
- Hold your pencil at an angle
- Make short, feathery strokes in the direction of hair growth
- Start with the tail (outer third), then middle, then front
- Keep strokes closer together where you have gaps
- Make strokes lighter and further apart where you have existing hair
Time: 3-7 minutes per brow (yes, really)
Step 4: Fill With Powder or Pomade
Using your angled brush:
- Pick up a small amount of product
- Tap off excess
- Fill in the sparse areas with light, sweeping motions
- Build gradually - you can always add more
- Blend, blend, blend
The key? Less is more. Better to do three light layers than one heavy one.
Time: 2-4 minutes per brow
Step 5: Set With Gel
Brush through with clear or tinted gel using upward and outward strokes. This locks everything in place and adds dimension.
Time: 1 minute
Step 6: Clean Up Edges
Take your concealer on a small brush and trace the bottom and top edges of your brows. This creates that crisp, Instagram-worthy finish.
Time: 2-3 minutes
Step 7: Blend and Final Check
Blend the concealer into your skin, step back from the mirror, and check in natural light. Make any adjustments.
Time: 1-2 minutes
Total Time Investment: 12-25 Minutes
And that’s on a good day, once you’ve practiced this routine for weeks or months.
On a bad day? When you’re rushing, or tired, or the lighting is terrible? Add another 5-10 minutes. Plus the time you spend redoing them when one comes out darker than the other.
The Real Cost Nobody Talks About
Let’s do some math:
Daily routine: 15 minutes average (being generous)
- Per week: 1 hour 45 minutes
- Per month: 7.5 hours
- Per year: 91.25 hours
That’s nearly 4 full days spent drawing on your eyebrows every year.
Over 10 years? 912.5 hours. That’s 38 full days of your life.
And that doesn’t include:
- Time spent shopping for products
- Time spent removing and redoing when they smudge
- Time worrying about them throughout the day
- The mental load of always having to “do” your brows
The Products Can Only Do So Much
Here’s what I tell every client who asks me about makeup alternatives:
If you have some brow hair to work with, makeup can absolutely help you create a fuller look. It won’t be perfect, and it takes time and skill, but it’s doable.
If your brows are very sparse or patchy, makeup can help, but you’ll always be fighting an uphill battle. You’re essentially drawing on hair that isn’t there, and it rarely looks as natural as you want it to.
If you’ve over-plucked for years or have naturally thin brows, you can definitely improve them with makeup. But you’ll need to be consistent, patient, and accept that they’ll never look “no-makeup natural” - because they’re not.
The Challenges You’ll Face
Even with perfect technique, here are the daily obstacles:
1. Smudging and Fading
Touch your face? They smudge. Hot day? They fade. Work out? Gone. Touch-ups required throughout the day.
2. The Morning Pressure
Every single morning, you have to get them “right.” And on the days you’re running late? That stress is real.
3. The Asymmetry Struggle
Getting both brows to match is genuinely difficult. Even professionals don’t always nail it on the first try.
4. Product Buildup
Using products daily can clog the hair follicles and actually make brow growth worse over time if you’re not religious about cleansing.
5. The Commitment
This isn’t a “sometimes” thing. It’s every. single. day. Weekends, vacation, gym, grocery store - if you want the look, you put in the time.
So… What If You Could Skip All This?
Imagine waking up tomorrow with perfectly shaped, full-looking eyebrows already done.
No products. No time. No stress about whether they’re even or if they’ll last through your workout.
Just… perfect brows. Every day. For 1-3 years.
That’s what microblading offers.
For about the same amount of money you’ll spend on brow products over 2 years ($300-500), you could have semi-permanent brows that:
- Look natural (like real hair strokes, not drawn-on)
- Last 1-3 years with minimal maintenance
- Save you 90+ hours per year
- Never smudge, fade, or need touch-ups during the day
- Look perfect in photos, video calls, at the gym, swimming - everywhere
The Choice is Yours
There’s absolutely nothing wrong with choosing the makeup route. Many of my clients do both - they have microblading as their “base” and use makeup to adjust or enhance for special occasions.
But if you’re spending 15+ minutes every single morning, constantly buying products, and still not feeling confident about your brows…
Maybe it’s time to explore an alternative.
Ready to Learn More?
If you’re curious whether microblading could work for you - or if you want to see what your brows could look like without the daily routine - book a free consultation.
We’ll look at your natural brow pattern, discuss your goals, and show you exactly what’s possible. No pressure, no sales pitch - just honest advice from someone who’s helped thousands of clients transform their brows.
And if we determine makeup is actually the better choice for you? I’ll tell you that too.
Because at the end of the day, it’s your time, your money, and your confidence. You deserve the option that works best for your life.
Have questions about microblading vs. makeup? Contact us - we’re here to help.