· Sarah · Education · 11 min read
What is Microblading? The Complete Guide (From Someone Who Does It Every Day)
What is microblading, really? Not the glossy marketing version - the real deal. Here's everything you need to know from an artist with 3,500+ clients and nearly 10 years of experience.
What is Microblading? The Real Answer
Let’s skip the textbook definition and get to what you actually want to know.
Microblading is a semi-permanent eyebrow technique where I use a handheld tool with ultra-fine needles to draw individual hair-like strokes into your skin, depositing pigment as I go.
Think of it as the difference between a Sharpie (traditional tattoo) and a fine-point pen (microblading). Same concept of putting ink under skin, but the precision and result are completely different.
The strokes I create mimic real brow hairs so closely that most people can’t tell the difference. That’s the whole point - brows that look like they just… grew that way.
I’ve done this over 3,500 times in my career. And I still love watching clients see their brows for the first time. That moment never gets old.
How is Microblading Different from Traditional Tattooing?
This is where most explanations get confusing. Let me make it simple.
Traditional Eyebrow Tattoos
- Use a machine that goes deeper into the skin
- Deposit ink (which often turns blue/gray over time)
- Create a “filled in” or solid look
- Permanent (though they fade and change color weirdly)
- Often look obviously fake
Microblading
- Uses a handheld tool (no buzzing machine)
- Stays in the upper layers of skin (epidermis/upper dermis)
- Uses specialized pigments designed to fade naturally
- Creates individual hair-like strokes
- Semi-permanent (1-3 years depending on your skin)
- Looks like actual brow hairs when done right
The biggest difference? Traditional tattoos look like eyebrow makeup that won’t come off. Microblading looks like you just have naturally great brows.
What Does the Microblading Process Actually Look Like?
Here’s exactly what happens when you come see me, step by step.
Step 1: The Consultation (15-20 minutes)
Before I touch a tool, we talk. I want to know:
- What are you hoping to achieve?
- What’s your daily routine like?
- Have you had any cosmetic procedures before?
- What’s your pain tolerance like?
- Are you on any medications that might affect healing?
I’ll also look at your natural brow shape, face structure, and skin type. Not everyone is a good candidate for microblading (more on that later), and I’d rather tell you that upfront than take your money and leave you unhappy.
If you want to know more about whether you’re a good fit, check out my post on how to know if you’re a good candidate for microblading.
Step 2: Brow Mapping & Design (30-45 minutes)
This is where the magic starts - and where experience really matters.
I use a technique called “brow mapping” to design your perfect shape. This involves:
- Measuring your facial proportions
- Identifying your natural bone structure
- Finding where your brows should start, arch, and end
- Considering your unique features (not someone else’s “ideal”)
I’ll draw on the shape with a removable pencil so you can see exactly what we’re going for. We go back and forth until you love it.
Here’s what I tell every client: Your brow shape should be designed for YOUR face. I’m not giving you the same brows I gave my last client. I’m creating something that works with your unique bone structure, eye shape, and facial proportions.
I’ve written more about this in why your brows won’t stay symmetrical - it’s not as simple as making them match.
Step 3: Numbing (20 minutes)
Before any strokes happen, I apply a topical numbing cream to the brow area. This sits for about 20 minutes to take full effect.
Most clients are surprised by how comfortable the procedure actually is. I cover the real deal on pain in my post about the truth about microblading pain - spoiler: 81% of my clients rate it a 5 or below on a 10-point scale.
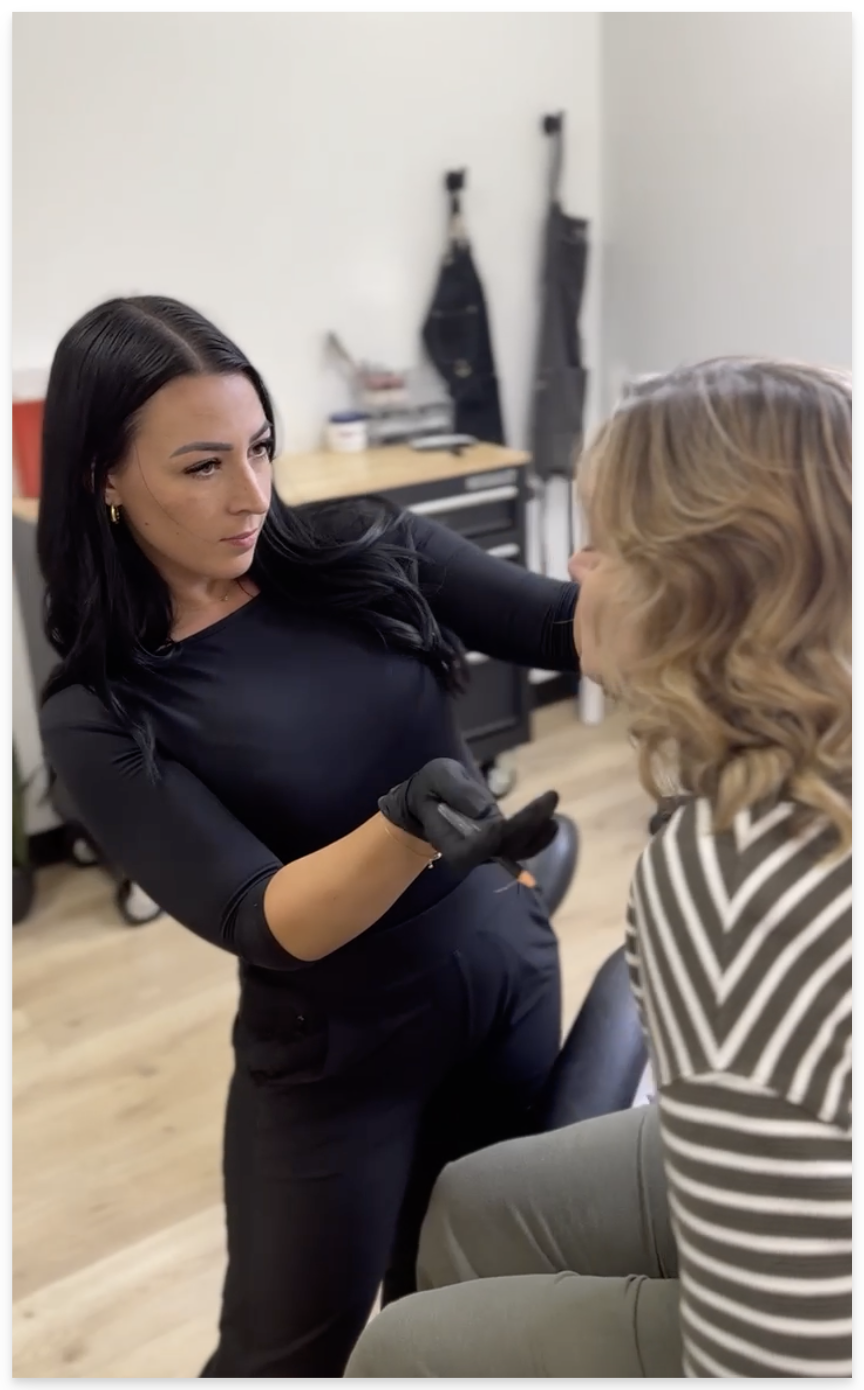
Step 4: The Microblading Process (1-2 hours)
Now for the actual work.
I use a handheld tool with a row of very fine needles - we’re talking thinner than a human hair. I dip this into pigment and create tiny incisions in your skin, depositing color as I go.
Each stroke takes about 1 second. A full brow has anywhere from 50-150+ strokes, depending on the look we’re going for and how much natural hair you have to work with.
What does it feel like? Most clients describe it as a scratching sensation - like eyebrow plucking in reverse. It’s not pleasant, but it’s not unbearable for most people. I wrote a whole deep-dive on what the process feels like hour by hour if you want the full breakdown.
Step 5: Aftercare Instructions (10 minutes)
Before you leave, I’ll go over exactly how to take care of your brows during healing. This is crucial - good aftercare can make or break your results.
The basics:
- Keep them dry for 10 days
- No sweating, swimming, or saunas
- Apply the aftercare balm I provide
- Don’t pick at any scabbing (I know it’s tempting)
- Avoid direct sunlight
I have a full aftercare guide you can reference, but I’ll also send you home with printed instructions.
Step 6: Touch-Up Session (6-8 weeks later)
Here’s something most places don’t tell you upfront: microblading is actually a two-appointment process.
The first session lays the foundation. But during healing, some strokes fade more than others. Your skin accepts pigment differently in different areas. That’s normal and expected.
The touch-up appointment (included in my pricing) is where we perfect everything. I fill in any strokes that faded, adjust the color if needed, and make sure you’re thrilled with the final result.
This is also when I can make adjustments if you’ve decided you want anything different after living with your brows for a few weeks.
Who is Microblading For?
Microblading works great for people who want to:
- Fill in sparse or thin brows - Whether from over-plucking, genetics, or aging
- Define a shapeless brow - Give structure to brows that feel “blah”
- Cover gaps or scars - Microblading can camouflage missing areas beautifully
- Stop drawing on brows every day - Reclaim your mornings (I did the math - it’s about 149 hours per year for most people)
- Correct asymmetry - Though perfect symmetry isn’t the goal - your brows are sisters, not twins
- Feel confident without makeup - Wake up and go without worrying about your brows
Who Shouldn’t Get Microblading?
I turn down clients sometimes. It’s not personal - it’s because microblading wouldn’t give them good results, or it could be unsafe.
Microblading isn’t right for you if:
- You’re pregnant or nursing (we don’t have enough data on safety)
- You have diabetes that’s poorly controlled
- You’re on blood thinners (excessive bleeding affects results)
- You have skin conditions in the brow area (eczema, psoriasis, active acne)
- You’ve had Botox in the last 2 weeks
- You have keloid scarring tendencies
- You’re undergoing chemotherapy
Microblading might not be ideal if:
- You have very oily skin (strokes can blur and heal softer)
- You have extremely sensitive skin
- You tan heavily or spend lots of time in the sun (UV exposure fades pigment faster)
- You use retinol or acids on your face daily (can accelerate fading)
If you’re unsure, book a free consultation and I’ll give you an honest assessment. I’d rather you know upfront than be disappointed later.
How Long Does Microblading Last?
The honest answer: it depends.
For most people, microblading lasts 1-3 years before needing a refresh. But several factors affect longevity:
Skin Type Matters Most
Oily skin: Tends to fade faster (often 12-18 months). The oils can push pigment out and cause strokes to blur slightly.
Dry skin: Holds pigment longer (often 2-3 years). Less oil means the pigment stays put.
Normal/combination skin: Usually somewhere in the middle (18-24 months).
Lifestyle Factors
- Sun exposure - UV breaks down pigment faster. Always use SPF on your brows.
- Skincare products - Retinol, AHAs, and exfoliants accelerate fading
- Swimming - Chlorine and salt water can affect pigment
- Sweating - Heavy exercise means more natural fading
Your Individual Metabolism
Some people’s bodies just process pigment faster than others. It’s like how some people’s hair holds dye longer - everyone’s different.
The good news: Annual touch-ups keep your brows looking fresh. These are quicker than the initial session and usually run $200-350 depending on how much work is needed.
What’s the Difference Between Microblading and Other Brow Treatments?
People often confuse microblading with other options. Here’s the breakdown:
Microblading vs. Microshading (Powder Brows)
Microblading: Individual hair-like strokes. Best for natural, “I woke up like this” look.
Microshading: Tiny dots that create a powder-fill effect. Best for makeup lovers who want a more “filled in” look.
Combination brows: Uses both techniques - strokes at the front, shading in the body and tail. Best of both worlds for many clients.
Microblading vs. Brow Lamination
Microblading: Semi-permanent pigment under the skin. Lasts 1-3 years.
Brow Lamination: A chemical treatment that reshapes existing brow hairs. Lasts 4-6 weeks.
Key difference: Lamination only works with the hair you already have. Microblading creates the appearance of hair that isn’t there.
I wrote a complete comparison in Microblading vs. Brow Lamination vs. Tinting if you’re weighing your options.
Microblading vs. Brow Tinting
Microblading: Adds pigment under the skin to create hair strokes.
Brow tinting: Dyes your existing brow hairs darker. No skin pigment.
Key difference: Tinting only colors hair you already have. If you have sparse brows, tinting won’t fill in the gaps.
How Much Does Microblading Cost?
This varies wildly by location and artist experience. In the Chicagoland area (where I work), you’ll typically see:
- Budget artists: $200-400 (often new artists building portfolios)
- Mid-range artists: $400-550 (experienced, but newer to the craft)
- Premium artists: $550-800+ (years of experience, proven results)
My pricing: $650 for the initial session, which includes the 6-8 week touch-up. Annual refreshers are $300.
A few things to consider:
You get what you pay for. Microblading is one of those things where cheap can mean disaster. I’ve fixed a lot of work from bargain artists, and corrections cost more than doing it right the first time.
It’s an investment, not just a cost. If you’re spending $100+ on brow products and 15 minutes every morning, microblading pays for itself in time and money within 1-2 years.
Ask about what’s included. Some places charge separately for the touch-up. Mine is included because I know it takes two sessions to get perfect results.
What to Look for in a Microblading Artist
Here’s my honest advice for finding someone good:
Portfolio Quality
- Look for healed photos (not just fresh work - anyone looks good fresh)
- Check for variety in face shapes and skin tones
- Notice if the strokes look like hair or like scratches
- See if the results look natural or overdone
Experience Level
- How many procedures have they done?
- How long have they been doing this?
- Do they specialize in brows or do they do everything?
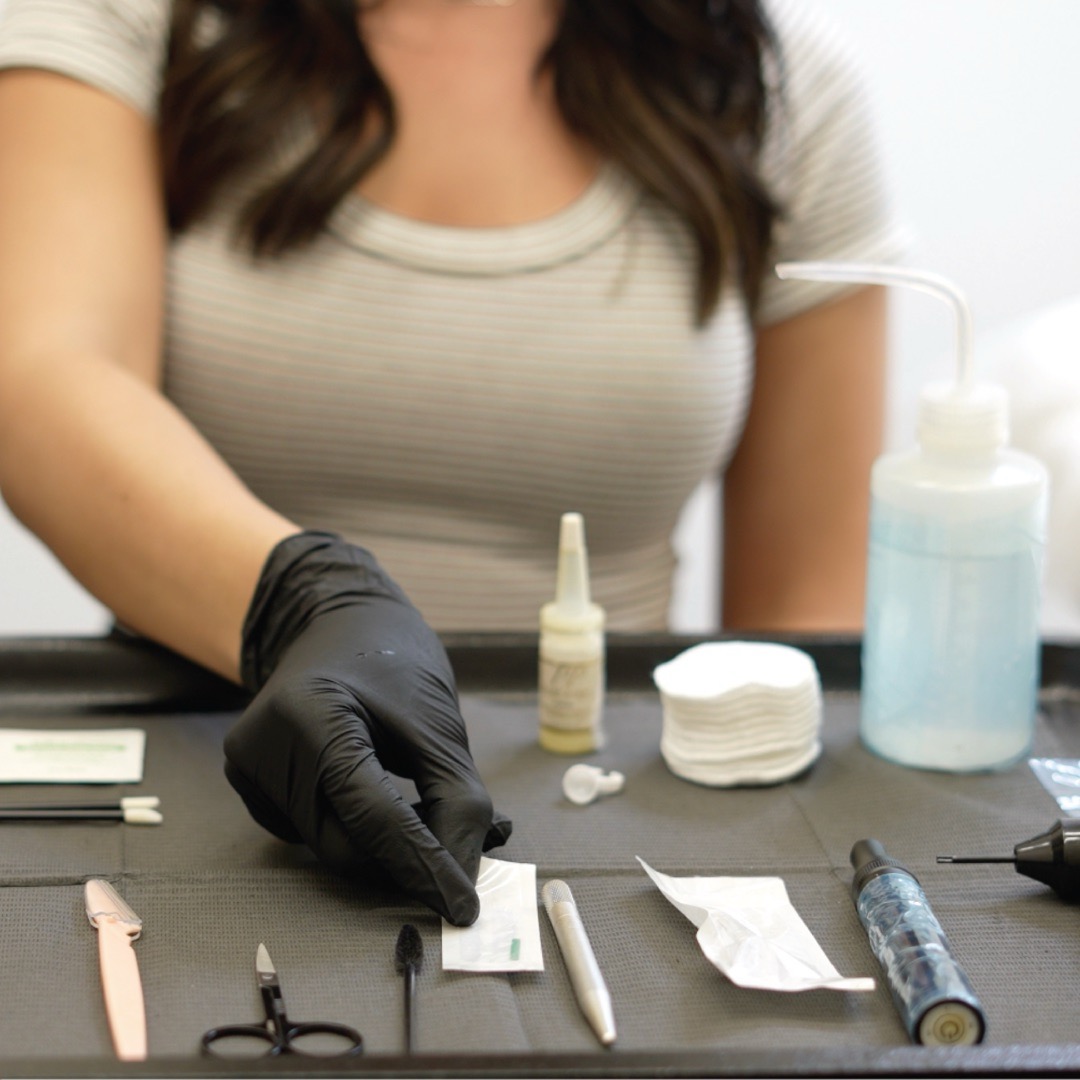
Sanitation
- Is their workspace clean?
- Do they use disposable tools?
- Are they licensed in your state?
Reviews and Testimonials
- Read the actual reviews, not just the star rating
- Look for reviews mentioning healed results
- Check for any patterns in complaints
Your Gut Feeling
- Did they answer your questions thoroughly?
- Did they seem rushed or genuinely interested?
- Did they explain the process clearly?
Frequently Asked Questions
Does microblading hurt?
Most clients describe it as uncomfortable but manageable - like eyebrow plucking in reverse. I use numbing cream, and 81% of my clients rate the pain at 5 or below on a 10-point scale. Read my full breakdown on microblading pain.
How long does the healing process take?
Full healing takes about 4-6 weeks. The first week is the most intense - your brows will look darker, then scab and flake. By week 3-4, the color settles into the final result. I cover this in detail in what to expect hour by hour.
Can I get microblading if I already have brow tattoos?
Sometimes, but it depends on the existing work. Old tattoos that have faded to gray or blue can often be covered. Dense, dark tattoos are harder to work with. Book a consultation so I can assess your specific situation.
Will microblading look fake?
Not if it’s done well. The whole point is to create natural-looking hair strokes. If microblading looks fake, it’s usually because the artist didn’t match the color properly, used the wrong stroke pattern, or created an unnatural shape. Check the artist’s portfolio for healed results.
What if I don’t like the shape?
This is why the design phase is so important. I won’t start microblading until you approve the shape. If you want adjustments after seeing the initial design, we make them before any pigment goes in.
Can I wear makeup after microblading?
Not on the brows for the first 10-14 days while they heal. After that, you can wear whatever makeup you want. Most clients find they barely need brow makeup anymore - that’s the point!
How do I prepare for my appointment?
- Avoid alcohol 24 hours before (thins blood)
- Don’t take aspirin or ibuprofen 24 hours before
- Skip the coffee the morning of (caffeine increases sensitivity)
- Arrive with clean brows (no makeup)
- Eat beforehand (you’ll be here a while)
When should I book my touch-up?
Schedule it 6-8 weeks after your initial session. This gives your skin time to fully heal and the pigment to settle so I can see what actually needs adjustment.
Ready to Learn More?
If you’re considering microblading, here’s what I’d do next:
- Browse my before & afters on the results page to see real healed work
- Check out my reviews to hear from actual clients - read reviews
- Book a free consultation if you have questions or want an in-person assessment - schedule here
No pressure, no obligation. If microblading isn’t right for you, I’ll tell you. But if it is? You might just wonder why you waited so long.
Have more questions? Contact me anytime. I answer every message personally.